VERY IMPORTANT NOTE There are some configuration changes between GeoMOOSE 2.4 and 2.6. Specifically the existence of local_settings.ini and the removal of some mapbook items. The supporting JavaScript has been overhauled as well. If you are upgrading your GeoMOOSE installation and have made configuration changes or added your own data to the maps folder, you should backup those files before proceeding. Once you have your MS4W folders backed up, you should delete these files and folders before proceeding.
GeoMOOSE is a client side framework that is developed for use with MapServer (http://www.mapserver.org). While GeoMOOSE does not require MapServer to be installed when setting up a basic map viewer, many of the services included with GeoMOOSE (identify, query, search, etc.) do require MapServer. Most people will find it worthwhile to install MapServer and if you are going to install GeoMOOSE on a Windows-based computer, it is highly recommended that you use the MS4W package (MapServer for Windows). If you are installing GeoMOOSE on a Linux computer, see instructions at (http://geomoose.org/docs/install_unix.html).
In an effort to make it as simple as possible to get MapServer installed, we have packaged GeoMOOSE in an MapServer for Windows (MS4W) package. This document provides the steps necessary to download and install all the components required for GeoMOOSE.
IMPORTANT NOTE You need to have administrator level access to your computer to install and configure either Apache or IIS Server.
NOTE If you are new to web servers and developing web sites we STRONGLY recommend using Apache as your web server.
IMPORTANT NOTE MS4W 3.0.4 (MapServer 6.0.2) + required.
- The MS4W download will install Apache, MapServer and PHP. Download the MS4W package from the Maptools web site at http://www.maptools.org/ms4w.
- There is not a traditional “install” program for MS4W, rather you are going to unzip the contents to the root of your C: drive. Actually, MS4W does not have to be installed on the C drive, but it is good practice to have the MS4W directory at the root of the drive (not in “Program Files”). You should not have multiple MS4W folders. (There now actually a traditional install .exe too)
- Once you have the MS4W package unzipped on your computer, you will need to decide which web server to use. The two most common choices are Apache and Microsoft IIS. Unless you need the integrated Windows authentication IIS provides or your organization requires the use of IIS, we recommend using the Apache web server that is included with MS4W.
- Go to the GeoMOOSE download page (http://geomoose.org/info/download.html). There are two versions of GeoMOOSE for MS4W. “GeoMOOSE 2.2 for MS4W - Web Mercator Demo” is pre-configured with the setting necessary for Google, bing, and OSM base maps; if you want to use one of these base maps, your map will have to be in the web Mercator projection. If you are not going to use one of these base maps, we recommend using the other “GeoMOOSE 2.6 for MS4W” download.
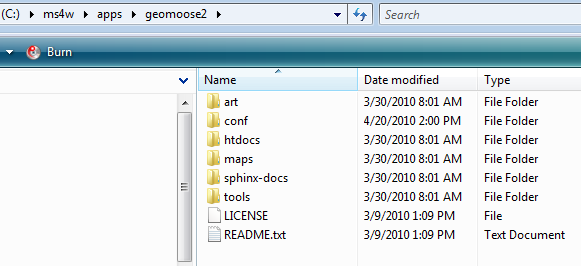
- The GeoMOOSE installation is similar to MS4W in that there is not a traditional “install” program. The only step is to unzip the files to the C:/MS4W directory. When finished, the GeoMOOSE installation should be in C:/ms4w/apps/geomoose2
NOTE Skip this step if you going to install IIS server in Step 3b.
- Apache comes pre-configured with MS4W and as long as it is installed at the root of the drive (i.e. “C:/ms4w”), all that is needed to complete the process is installing Apache as a Windows service. From Windows Explorer (or a command prompt), double-click on C:/ms4w/apache-install.bat. A command window will appear for a couple seconds and then disappear.
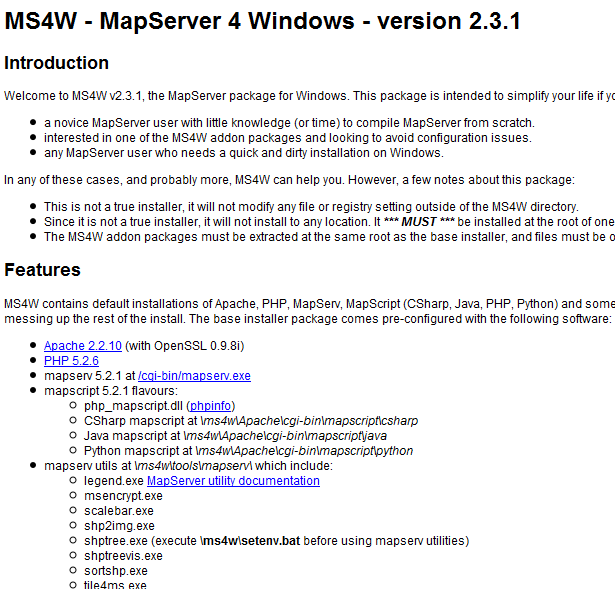
- To test if the installation is working, from a browser on the computer you installed MS4W and GeoMOOSE, type in the address http://localhost. Your screen should display information about MS4W and the applications installed like the image below.
- At the bottom of this page is a list of applications installed which use MS4W. Click on the GeoMOOSE 2.6 link to test the installation.
- Further help and troubleshooting information is provided in the MS4W documentation (http://www.maptools.org/ms4w/index.phtml?page=README_INSTALL.html).
NOTE Skip this step if you installed Apache server in Step 3a. NOTE These instructions are for IIS 6.0 which is part of Windows Server 2003 and Windows XP Professional 64 bit. The steps are similar for other versions of IIS, however the interface can be very different and will not match screen shots provided here.
- Open the “IIS Manager”.
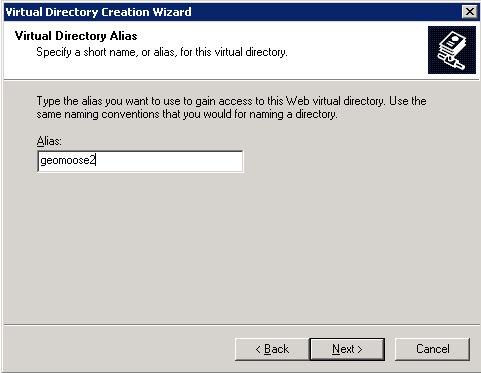
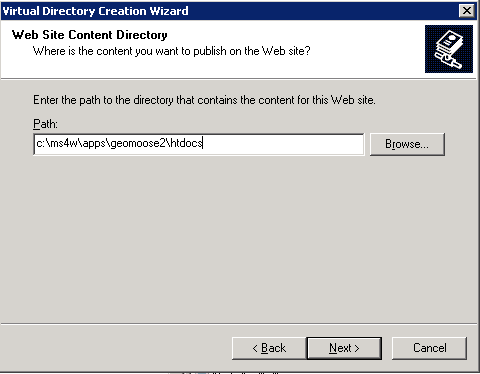
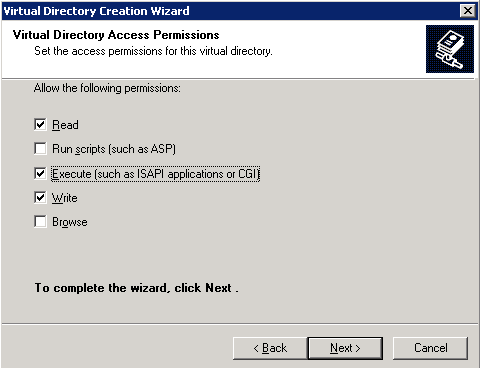
- Create a virtual directory called “geomoose2” and point it to the path “C:/ms4w/apps/geomoose2/htdocs”. See screen shots below for an example of adding a virtual directory.

- At the same level as the “geomoose2” directory, create a virtual directory called “cgi-bin” and point it to the path “C:/ms4w/Apache/cgi-bin” using the same settings as the “geomoose2” directory.
- At the same level as the “geomoose2” directory, create a virtual directory called “ms_tmp” and point it to the path “C:/ms4w/tmp/ms_tmp” setting the permissions as shown below.
IMPORTANT NOTE There are many versions of PHP available, it is highly recommended that you use the version provided with MS4W as it includes all of the necessary components for MapServer to run properly.
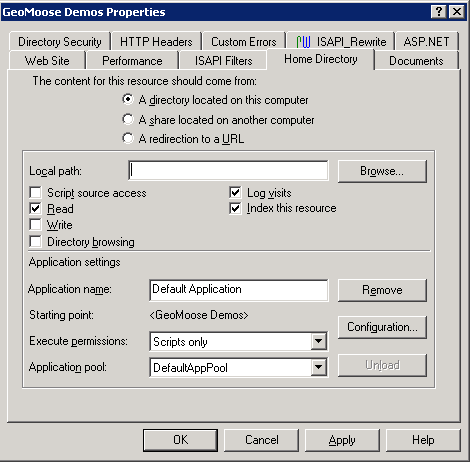
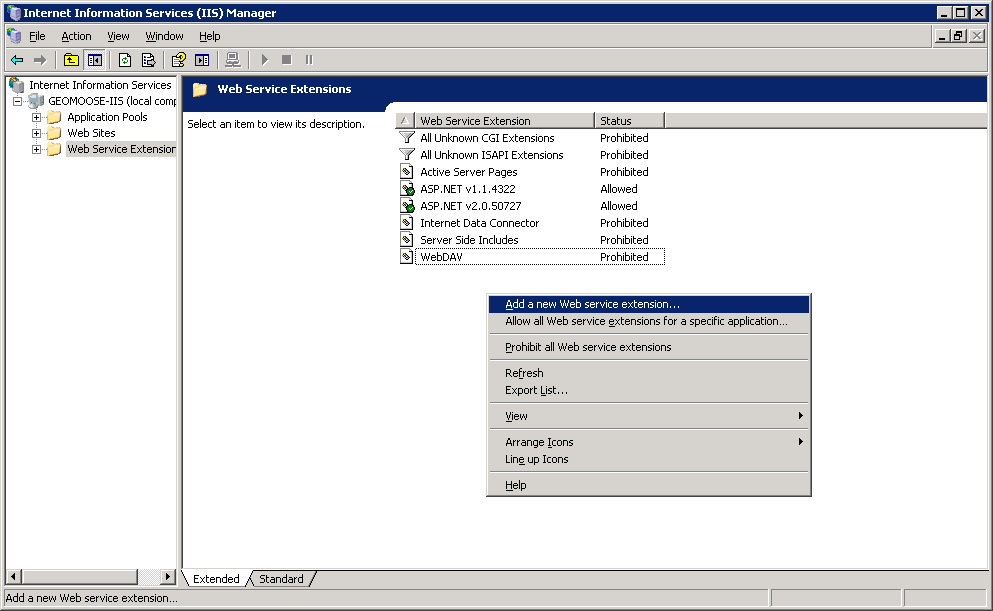
- Set the web service extensions to use PHP from “C:/ms4w/Apache/cgi-bin”. This configuration can be done once at the web site level to provide support for all virtual directories (recommended), or at the directory level if some directories need to use different versions of PHP. If you configure PHP at the directory level, make sure to set PHP on all three GeoMOOSE directories.
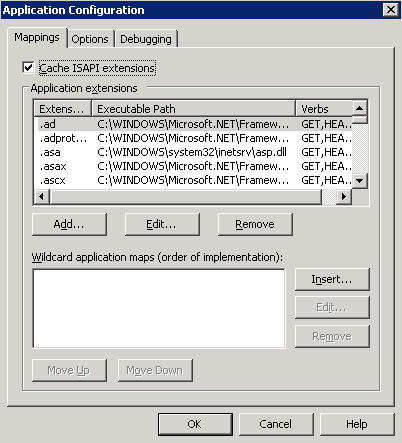

- IIS needs to be configures to allow two CGI applications (php-cgi.exe and mapserv.exe) to be accessed. Click on “Web Service Extensions” and add the extensions as shown below.


- From a text editor (i.e. WordPad) and open “C:ms4wApachecgi-binphp.ini”. Search for “cgi.force_redirect” - this value must be set to zero. It will look like this cgi.force_redirect = 0
- To test if the installation is working, from a browser on the computer you installed MS4W and GeoMOOSE, type in the address http://localhost/geomoose2/geomoose.html.
- At the bottom of this page is a list of applications installed which use MS4W. Click on the GeoMOOSE 2.6 link to test the installation.
NOTE On some Windows-based computers, you will need to set an environment variable for the location of the proj4 library. This step is needed if you recieve the error “msProcessProjection(): Projection library error. No such file or directory”. Instructions for adding the envronment variable can be found at http://mapserver.org/errors.html.
- Not having Administrator level access. This will prevent Apache from being installed as a service.
- Another web server is running on the computer. If IIS or Apache is already running on the computer on port 80, you will receive an error message when trying to start your new web server. There are many sources on the web which will provide instructions on running both IIS and Apache on the same server by changing the port used by one of the servers.
- Firewall blocking port 80. If you can access GeoMOOSE from the localhost but not other computers, check firewall settings on the computer hosting GeoMOOSE and other external firewalls.
Now that GeoMOOSE is installed, the next step is to start customizing it for your map. Some helpful documents to look at include: